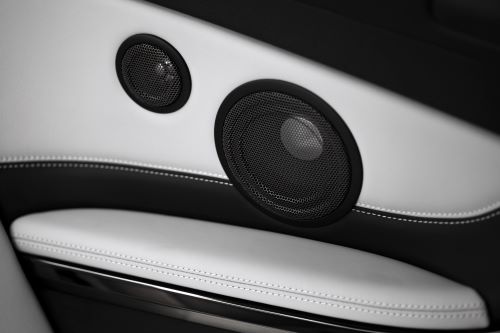
Road Trip! That term conjures up many meanings for people. Mostly enjoyable. Mostly including loud music. But the pleasure can quickly be diluted if your car speakers sound like someone shaking a can of pebbles. Here are a few suggestions to eliminate that noise and make the next road trip sound track memorable.
8 Speaker Rattle Cures
1) Eliminate Peripheral Noise
Before you can fix speaker rattle, you have to know it is speaker rattle. There is no point in removing door panels to look at the speakers, only to find out it is the can of breath mints rattling in your console. You’ve been meaning to clean the car anyway, so why not take everything out. Not only the pop cans (or beer cans) and food wrappers. Remove everything that is not bolted down including tools, toys, cell phones, car seats, work related stuff. And if it is bolted down–like spare tires and jacks–make sure they are tight so they can’t move or rattle. Check everywhere–door side pockets, glove box, console, under the seats, trunk.
Then go for a drive. While listening to the radio, a CD, or tape (if the car is really old). Smooth pavement, potholes, and gravel. (Although I am willing to bet that some of you have never been on a gravel road.) You may be surprised to learn that speaker rattle no longer exists. It was something else rattling around in the cab.
If you did hear something while driving, give it one more hearing test while parked. If you cannot hear any rattle, but are sure it was there when you were moving, you may have missed something during your clean-up. Or there is something loose behind door panels, under the hood, or in the trunk. Once you are certain it is speaker rattle, you will have to figure out which speaker, the cause, and then fix it.
2) Isolate the Speakers to Find the Culprit
Although speaker rattle can sound like it is coming from anywhere or everywhere, usually the problem is caused by only one speaker. By adjusting the ‘fade’ on your audio system you can hear sound either from the front or rear speakers. By adjusting the ‘balance’, you can hear either left or right side. Play with these long enough, and you should know which one to blame. Then you can move on to actually fixing it.
Use the Owner’s Manual
Most vehicles come with a manual that is the size of a decent novel. Some manufacturers consider the audio system so important that the vehicle will come with a separate manual just for audio. Although I am sure that some people have never taken it out of the glove box, you should. Because to repair speakers, you are going to have to remove, and replace, door panels and possibly other coverings and moldings. (Note: Most manuals are also available online, so if the previous owner lost it, you should still be able to get the information you need.) Your manual should show you (possibly in more languages than you need) how to access all of the speakers in your vehicle.
Use of the manual will help you do the job quicker and easier. It will also save you from compounding the problem by breaking something or re-installing it improperly.
3) Mounts and Connections
Tighten Speaker Mounts
Once you can see and touch the thing, you can make a thorough inspection. Make sure the screws, nuts, or bolts holding it in place are tight. If you are not sure, play some music and hold the speaker tight. If the rattle is still there, your speaker is probably tight. But if you are going to tighten things anyway, give some consideration to adding a rubber washer to each mounting screw to decouple the speaker from the mounting location. It can’t hurt, and it could possibly improve sound quality. Rubber washer kits are not expensive and having one around when you need it will save a run to the store for other projects.

Check and Clean the Connections
Vehicle doors are supposed to be waterproof. Not always. While you are making sure the mounts are tight, take a look at your speaker’s electrical connections. Some moisture or dirt may have gotten into the door and onto the connections. Rust can disrupt the full flow of electricity to the speakers. Not only will this cause them to perform less efficiently, it may produce funky noise like buzzing, crackling, and popping that sounds like a rattle.
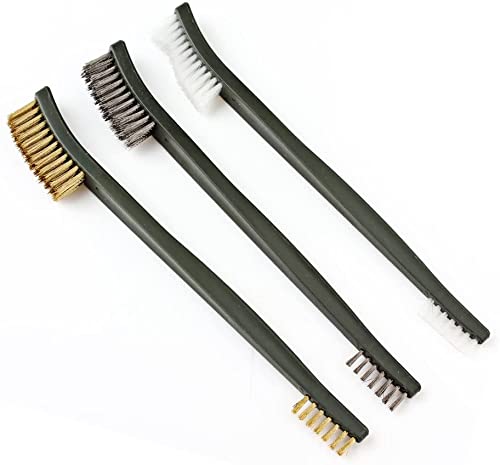
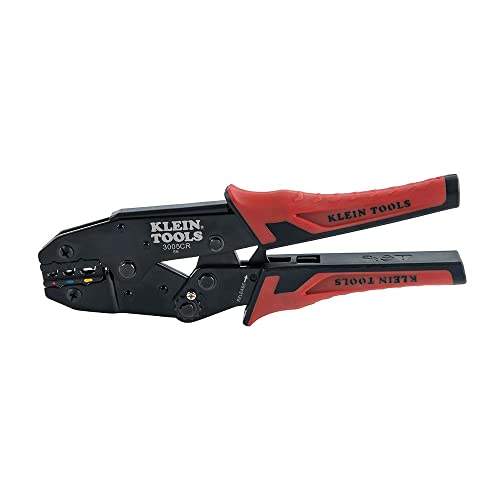
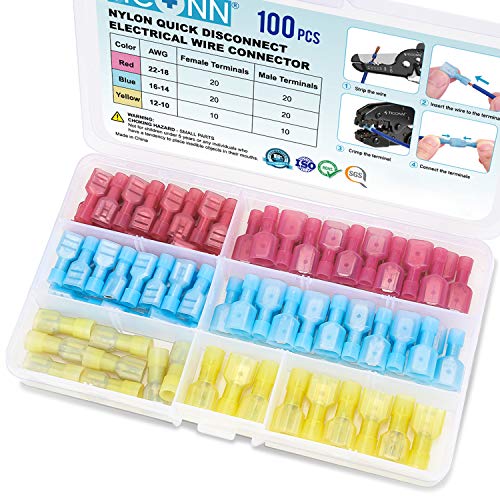
If the connections do not look clean and shiny, take them off one at a time (so you know where they came from). A small wire brush can be used to get them clean. If they are bad enough, you can use a crimper to install a new spade connector onto the wires. If the wiring is corroded along with the connector, just cut it back 1/2″, strip the insulation and attach the new connector. At the very least, your music should come through crisper and cleaner.
On the other hand, if the speaker terminals are so badly rusted that the brush is taking pieces off, you may have to consider new speakers or doing a little soldering to build them up enough to accept spade connectors.
4) Is Your Speaker Blown?
‘Blown’ is audio language for torn. (I am a simple guy, and will use torn or tear from now on.) Speakers can be torn by too much power being fed through them causing the cone to jump out of its normal range of movement. A torn speaker can cause vibrations and a buzzing sound distortion which occasionally sounds like a rattle. Tears and holes can usually be repaired using one of the following methods. You will have to remove the speaker to get at both sides of the cone
- For small tears, you can apply fingernail polish, or preferably, a silicone rubber gel like Dap Silicone/Rubber Sealant. (The Dap will flex better with the movement of the speaker cone.) Do one side first, let it dry, then do the other side.
- If there is an actual hole in the cone, you will have to manufacture a patch. Get material as close to the original as possible. (Although the repair can be accomplished with paper or duct tape.) Clean up the edges of the hole by cutting off any ragged edges. Use fingernail polish or the Dap Silicone/Rubber Sealant to glue it down. (I would also add glue, but not a patch, to the back side.)
Personal Note: All three of my children would describe this repair as sketchy. It will get rid of the noise you are hearing but the resulting sound will never be as good as new. I would check into the price of a new speaker. You are trying to eliminate the rattles to have a better sound experience. This could be trading one problem for another.


5) Do You Have a Bass Problem?
As with almost all soundproofing, bass frequencies–generally described as 20 Hertz – 160 Hertz–are the most difficult to deal with. Car audio is no different. Not only are they difficult to soundproof; they cause vibration. The more bass you use in your system, the more vibration. The more vibration, the more chance of rattles. Assuming that you do not want to adjust the bass out of your system, install bass blockers on all of your mid-range (larger) speakers. These are sold in pairs, so you should install them on both speakers or your bass sound will be unbalanced.
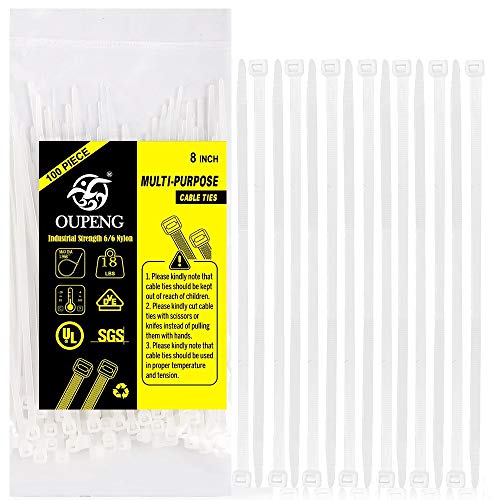
Bass blockers are not what the name sounds like. They do not eliminate bass from your speakers. In fact, they produce a clearer and sharper bass sound. They help prevent low frequencies from tearing (blowing out) your speaker. And they eliminate any bass-caused rattling noise from the speaker.They are installed on the positive speaker wire before it is attached to your speaker. You need to cut that wire, then attach the bass blocker to the tails of the wires as per manufacturers instructions. (Those instructions are much better at telling you all about male and female spade connectors than I am. With pictures.) Make sure you have the vehicle manual handy when doing this. Don’t just leave things hanging. Wrap the excess wire and tape it with duct tape or use a zip tie. Then tape the bass blocker to a strut or door panel.
Note: Most importantly, disconnect the ground wire from your battery before you start working; reconnect it when completely done. Even 12 volts running through your fingers can be unpleasant. And better yet, you will not inadvertently short out any audio components.

6) Is it Really the Speaker?
Yes. No. Maybe. The speakers themselves are probably at least part of the problem–even if they are not faulty. Virtually every part of your car resonates at its own particular frequency. (Dashboard panels, door panels, even roof liner.) Some of these frequencies feed through your speakers and can cause vibrations and rattling. So, yes, we can blame the speakers–but only partially, in some cases. But there are ways to keep your speaker sound pure.
Consider using all 3 of the following options to ensure that door panel sounds and road noise are not interfering with the operation of your speakers.
Car Speaker Enhancement Kit
Installing a Car Speaker Enhancement Kit on the offending speaker (or all of your speakers) isolates it from the door panel and dampens vibrations–of the speaker itself, and the surrounding panels. They are a combination of foam rings and pads that cover the entire speaker keeping the vibrations and sound frequencies of body parts from interfering with speaker function.
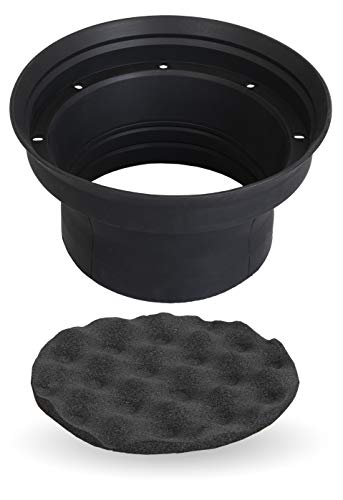
Another option is the NVX Speaker Baffle. These are a two piece silicone-based design. One part is cone shaped and fits over the entire speaker. The second part is an egg-crate acoustic foam piece that fits inside the small end of the cone towards the outside door panel. A little more expensive but waterproof, and the depth of the baffle can be customized. It performs the same functions as the Enhancement Kit.
Both are easy to install once you have access to the speaker. Your choice should be based on which you feel more comfortable buying. I would be content with either one.

Speaker Gasket Tape
Speaker gasket tape is closed cell self-adhesive foam–specially made for audio speakers–used to isolate the speaker from whatever it is mounted to. (Not just for vehicle speakers, but can be used for mounting any speaker.) The original speaker installation should have included tape of some kind between the speakers and metal mount. When you are inspecting the speaker, take a look at the tape. If it looks like it has deteriorated, change it. (Tape gets worn and torn quickly if your speaker is loose and rattles around.) The tape is not very expensive for a 50′ roll, and once you have it, you will find other uses for it.Remove the speaker, clean off the old tape and adhesive, and apply the new. It will easily bend around the contours of the speaker. Do not overlap the ends. This could keep the speaker from sitting flush to the mount.

Sound Deadening Material – Where and How to Use it
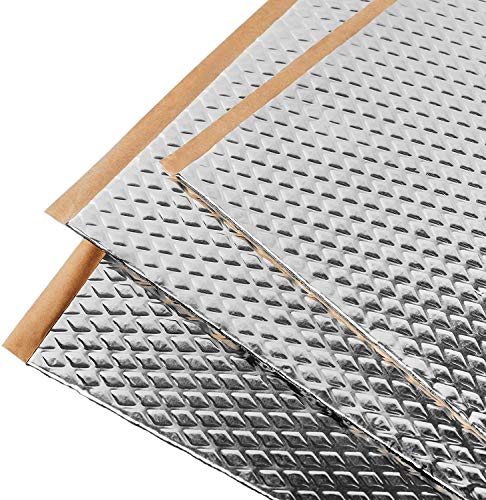
As mentioned, your door panels create sound frequencies that can be fed through the door speakers, creating rattling sounds. Noico 80 is a butyl automotive sound deadening mat. It is self-adhesive, and requires a roller for proper application. It is 80 mils thick with a foil face. (Note: A mil is one thousandth of an inch.)
For best results, apply it on the inside of the door panel and door side of the interior metal panel where the speaker is mounted. (Note: Remove the speaker from the metal panel, cover the panel completely with the Noico, then cut out the speaker hole. This will give you better sound deadening around the speaker mount.)
Warning: People tend to get crazed once they start using this stuff because it can be used on the floor, roof, hood, and almost anywhere in your vehicle. And you could have quite a bit left over after doing the doors.

7) Replace the Speaker
If all else fails, buy new speakers. You have tried everything I suggested (and maybe a few other things), and it still rattles. And it is crazy-making. New car audio speakers can be fairly inexpensive–specially if you are doing the work yourself. A few things to keep in mind:
- Fit. Are they the correct size? Do the speaker mounting holes line up with those in the vehicle?
- Power. Will they work properly with the power my stereo puts out? (No point in buying inexpensive speakers, winding up the volume, and hearing the same rattle because you just blew out the speaker.)
- Compatible. Check the owner’s manual (or call the dealer) to ensure your speaker choice is compatible with your system. Power is not the only consideration.
I think that those three are the basics you need to consider. With so many vehicles and so many sound systems and so many individual tastes, personal preference and cost will be the deciding factors when choosing new speakers.
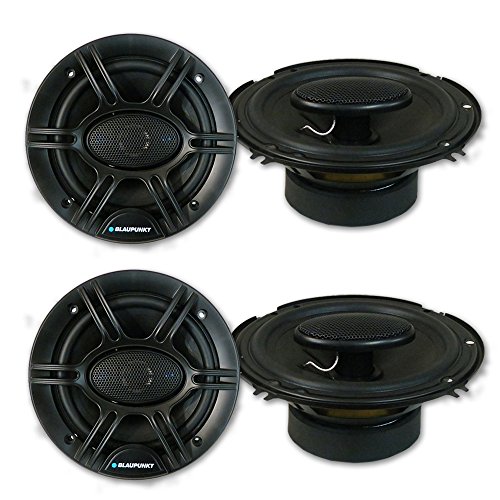
Depending on the age and quality of your existing speakers, this might be the place to start. Once you get access to the rattling speaker, and think that you know what the problems are, consider doing a quick cost analysis of the repairs compared to new units. Blaupunkt 6.5″ Speakers, for instance, are quite reasonable–as long as they fit in your vehicle and match the output requirements. (I am of German heritage. What else would I pick?) Speakers are usually sold in pairs, so be prepared to replace both of them. This only make sense to keep the sound quality consistent.
8) Take it to an Automotive Audio Shop
I am not sure this is a viable option for every vehicle. Many high-end cars come equipped with great sound systems and messing with them could cause warranty issues, and more problems than the owner needs, or wants. If one of these is your ride, you probably want to get professional help. On the other hand, if you are running around in a Pinto with the original radio . . . maybe not so much.
Having a professional deal with your sound system usually ends up as a cost calculation compared to an enjoyment calculation. How much do you want to spend versus how much do you like great sound. I suspect that most audio shop customers put sound first. Some people cannot wait to take a new vehicle to an audio shop to have the factory sound system ripped out and replaced. I would visit one for an opinion on my rattle and sound problems if all my efforts did not get them solved (paid for, if necessary), and a quote–both for what I need to have done, and for what I want to have done. Knowing costs and probable results are never a bad thing.
End Notes
A few final thoughts.
Warranties
Before tearing things apart, check the warranty on your vehicle. Quite often the warranty becomes void if you try to repair it, or take it to a non-authorized shop. The audio system may have a separate warranty. You may have a ‘bumper-to-bumper’ warranty. Find out what they cover, and when they expire. (I would call the dealer, even if you are certain of the expiration date. If you are a repeat customer, they may want to keep you happy.) Generally, having the dealership do the repairs with new parts and new warranty works out well.
Note: Probably no warranty on the Pinto.
Owner’s Manual
I know I said this earlier but it bears repeating. Make sure you spend time with the owner’s manual (or online) before, and during, your repair efforts. You should be able to find almost all of the information you need. And there is a good chance the job will go quicker and easier. And you might save money.
I tend to maybe spend a little too much time thinking before doing. Comes from rashly tearing out a door, and chunks of sub-floor, and about 10 square feet of really expensive tiles without taking time to figure out why the door would not move.
Times Change
My first two vehicles did not even have radios. Then I bought a ’68 Dodge Charger. With a radio. That I could not hear over the growl of the horsepower. Which seemed preferable anyway. So I really appreciate the sound system in my truck. Hopefully, some of the suggestions I have made will help you get more enjoyment from yours.

I was sick of speaker rattle issue in my car sound system for past 2 weeks… glad I’ve solved this issue now after reading this. Very helpful!
Hi Aqdas,
Good to hear it helped.
Terry
Working a little boombox project. Will follow to solve a minor ratling that i have and is driving me crazy. Thks
Hi JR,
Hope it does the trick.
Terry