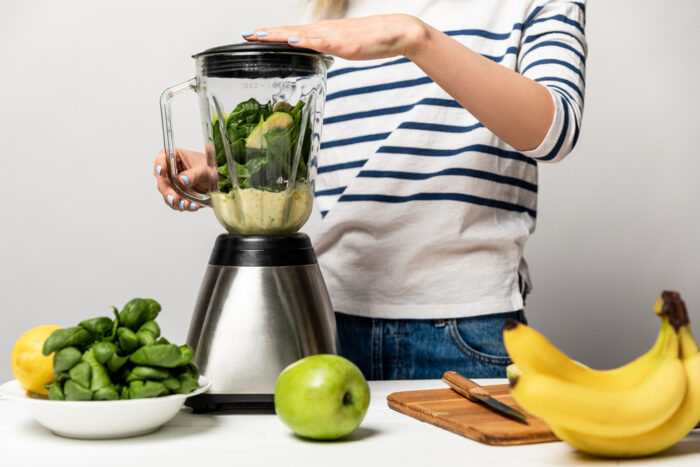
Food blenders have a reputation for being noisy. It is well deserved. Some newer blenders are available with quiet-shield technology to help them operate quieter, but generally speaking, blenders are not quiet. Especially when used to chop nuts, or ice, or other hard products.
There are ways to make your blender quieter. This list will give you some practical and inexpensive ideas.
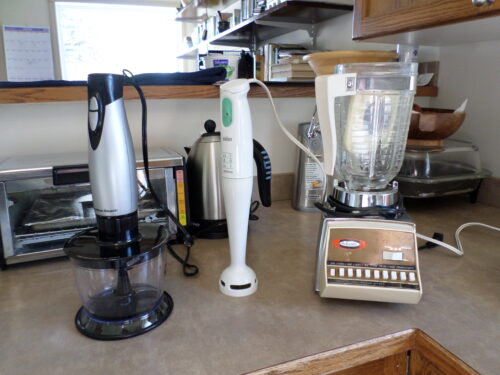
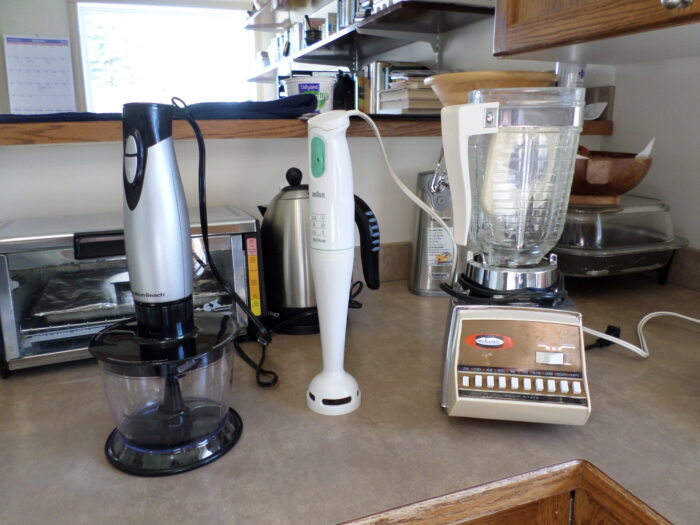 Blenders
How Loud is a Blender?
The average noise level of a blender is 88 decibels–about the noise level of a lawnmower. But blender noise can range from 60 decibels to 100 decibels–the noise made by a motorcycle. Anything over 85 decibels can cause hearing damage.
Note: Hearing damage at 85 decibels occurs after 2 hours of continuous exposure.
Blenders do not run for long periods of time. But they can still be annoying. Waking up the entire household at 5:30 AM while whipping up your breakfast smoothie does not make for a happy morning.
9 Ways to Make Your Blender Quieter
It is possible to quiet a blender. Quiet blenders help the rest of the people in your house to stay asleep. And you will not feel guilty about the amount of noise you are making.
1) Location, Location, Location
When using your blender, move it away from kitchen walls and cabinets. At least out to the middle of the counter. Hard flat surfaces reflect and echo sounds. Many kitchen walls are smooth tile, making them even more reflective. Having your blender in a corner could easily set up a mini echo chamber which will amplify the sound.
If you have an island in your kitchen, try moving the blender there. Your blender will still produce its 88 decibels of noise but there is nothing around it make it louder. Moving the blender is not going to make a huge impact on the amount of noise, but when done in conjunction with other noise-reduction strategies, it will help make a difference.
2) Add Sound Absorbing Acoustics to Walls Close to the Blender
Even if you have moved your blender away from the wall, give some serious consideration to adding sound-absorbing products to the walls behind the machine. Dense polyester acoustic panels will absorb some of the noise. Some of them are quite decorative with outdoor scenes on them. Easy to apply to drywall or tile with double-sided tape or spray adhesive, they are quite simple to keep clean.
Note: Do not use acoustic foam panels. Although they work well to cut down noise, they are also very absorbent, making spills a problem. Wiping the countertop can also be a problem.
Anything soft placed behind the blender will absorb some sound waves. Things like dish towels, dishcloths, or oven mitts. For more information about acoustic panels please see our article What Do Acoustic Panels Do?
Another option is to place hard items such as hanging utensils, can openers, etc. behind the blender. As long as these items are not smooth and flat like the wall, they will act as sound diffusers to eliminate standing waves and echoes. You can also buy attractive ready-made diffusers that can be glued or taped to the wall behind the blender.
For more information on sound diffusers please see our article The Best Sound Diffusers.
3) Place a Soft Towel Under the Blender
Not only does the noise bounce and echo from the walls behind the blender it will also be amplified by the countertop–another smooth flat surface. There is a good chance that the blender will vibrate on the countertop. Vibrations are part of low-frequency sound.
Set your blender on a soft towel or any type of soft thick cloth to help eliminate reflected noise and vibrations. If you leave it on the towel except for washing, the blender will easily slide on your countertop. (Which I prefer because our ancient blender seems to weigh more than a smart car.)
4) Set the Blender on an Anti-Vibration Mat
Other options for under the blender include:
- Rubber Bar Mats. Excellent anti-vibration mat. May take up too much space on the countertop.
- Silicone Crafting Mats. Might be a little too thin to do a good job.
- Anti Vibration Pads/Mats. All but eliminate vibration.
- Purpose-made Kitchen Appliance Mats. These mats are made to fit most small appliances. Most of them are sliders also to make moving your blender easy.
All of these products reduce reflected noise and eliminate vibration which causes noise.
5) Select a More Appropriate Blender Time
Morning routines and habits could be the toughest to change. Most people want what they want, when, and how they want it. Especially in the morning. But give some thought to altering blender times. Maybe you can make your smoothie or morning protein drink after supper, put it in the fridge, and grab it in the morning. It may not be quite as fresh, but better relations in the house could be well worth it.
Not only will the lack of blender noise make your family happier in the morning, but you may find that drinking the silent smoothie without making it is also better for your nerves. Or maybe you can alter the time you make it in the morning. An extra hour of sleep for everyone else in the house can’t be a bad thing.
6) Buy a Blender Sound Enclosure
Many newer blenders have an extra cover specifically made for soundproofing the machine. The covers will not eliminate noise but will reduce the sound somewhat. They are part of the machine when you buy it.
Depending on the age and make of your blender, you may be able to contact the manufacturer to see if they make a cover that will fit. Silent covers are not interchangeable between manufacturers. If you decide to order one–even from the maker of your machine–make sure you take measurements and pictures and ask lots of questions before ordering it.
7) Build a DIY Blender Sound Enclosure
Many new kitchen cabinets are designed with small appliance enclosures built on the countertop under the upper cabinets. These are perfect for your blender. They are also easy to build for the average DIY type. Many of the custom-built enclosures are designed with small rolltop-type doors. You should be able to buy one from a cabinet manufacturer.
I would build one that extends past the upper cabinet by about 6 – 8 inches–just to make it easier to reach the blender. Build the sides from 3/4″ MDF. (MDF provides significant mass for soundproofing.) Again, a cabinet manufacturer should be able to match the wood grain of your existing cabinets.
Use construction glue (PL400 or No More Nails) to attach stops to the countertop and underside of upper cabinets. Glue side pieces to these stops. Caulk MDF to back wall, countertop, and undersides of upper cabinets. Install door. If you can include a plug inside your enclosure, life is good. If not, you will have to cut a hole in the cabinet to get a cord to a plug.
For extra soundproofing, you can line the enclosure with Mass Loaded Vinyl, polyester acoustic panels, or even old towels to absorb sound.
You can also build a 3 or 4-sided portable box that you can just put over, or around the blender. Line it with soundproofing material and add a handle on top for ease of use. This would not be my first choice. It seems clumsy and annoying. You are forever putting it on and taking it off to operate the machine.
8) Maintain Your Blender
Your blender may just require some tender loving care. Blender blades are made of extremely tough stainless steel. They become dull very slowly, making it difficult to realize it is happening. If your blender is often used for hard things, like ice and nuts, the blades may be dull. The blades will begin to shatter ingredients instead of cutting them. Shattering nuts and ice makes more noise inside the container than ice that is cut relatively cleanly.
The following YouTube video shows how to sharpen one type of blender blade.
To sharpen any blender blade you will need to remove it from the machine, make sure it is clean, sharpen it safely, and replace it so it does not leak.
Note: For sharpening fine steel blades I suggest the Chestnut Tools Micron Sharpener. An excellent piece of equipment.
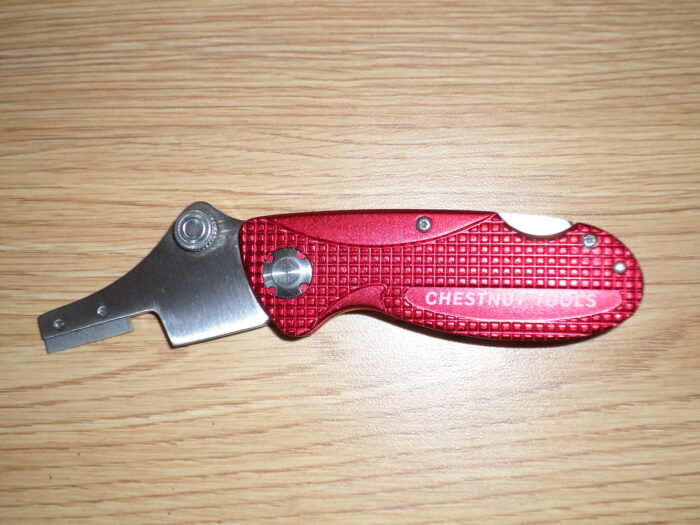 Chestnut Tools Universal Blade Sharpener
Some other noise-making maintenance items you may run into.
- Worn bearings or worn-out bearings can cause a grinding or squealing sound when the blender is in operation.
- Uneven wear on blender legs or feet–especially if they are soft rubber–can cause the blender to rock or bang on the countertop.
9) Buy a Quiet Blender
If you have tried all, or some, of these suggestions, and your blender still sounds like an out-of-tune cement mixer, maybe it is just time to invest in a new machine. You can find good quiet blenders for around $200.00. You can also spend over $1000.00 for a commercial-type blender with the nickname ‘The Quiet One”.
Most quiet blenders are equipped with soundproofing shields and improved quieter motors. You can also use some of the ideas listed above to make your new blender even quieter.
For more information about new quiet blenders please see our article The Best Quietest Blenders.
Quiet Blender FAQs
The following questions seem to be asked regularly.
1) Why are blenders so loud?
Blender motors are designed to get to full power almost instantly. And there is a lot of power needed when you fill the container with ice or nuts. If the motor was slow getting up to speed, the blender could just jamb. So the motor makes a lot of noise and the contents can make a lot of noise thrashing around inside the container.
2) Can I make the blender quieter by adding ingredients separately?
Probably not. You have to turn the blender off to add things. (Unless you like a splatter design on your ceilings and walls.) Then you are turning it on again with more products to chop and blend.
3) Are lower blender speeds quieter?
Yes. Depending on what you are blending or chopping. For instance, chopping nuts or ice will still make the same amount of noise in the container. Just for longer. But mixing softer ingredients at lower speeds will be quieter.
End Notes
Unfortunately, even using all of the suggestions on this page will not produce a completely silent blender. I won’t say it is impossible; it just has not happened yet. But every little bit helps. The 3 Decibel Rule below should make you feel better about your soundproofing efforts.
The 3 Decibel Rule
“Every 3-decibel change represents a doubling or halving of sound energy.” See Pulsar Instruments for a more complete explanation. So, if all of the little things listed above will reduce your blender decibel level by only 3 decibels, you have reduced the amount of noise by half.